
Module 2: Recording
Overview
 In this module we’ll take a look at our video “camera”…the Camtasia Recorder.
This program is one of the main tools in the Camtasia Studio video suite and pretty much makes everything possible. After all, you can’t make a video without rolling some footage!
Here’s what we’ll cover in this Module:
- Bad Recording? How to Avoid it…
- The Recording Process
- Exploring the Recorder
- Special Effects
- Recording With PowerPoint
- Steps to Take BEFORE You Record
Part 1
Watch the Class Session Video:
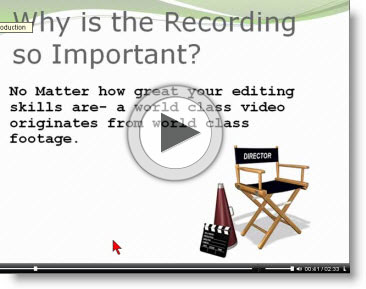
CLICK to Watch
Duration: 69 minutes
This is the edited recording of the Session 1 webinar. NOTE: The phone number and code were for the original live event and don’t apply to you…
Part 2
Bonus Training Tutorials & Recommended Exercises:
Step 1
Watch the Bonus “Preparation”video below from the ScreencastProfits Course.
Save yourself tons of time and frustration by taking these steps BEFORE you record your videos…ask me how I know this! In this video you will discover:
- How you should configure everything to get it right…the first time!
- The Top Tips to follow before you hit the Record button
- Why what you do now will impact the entire rest of the process
- Frustration saving tips to avoid having to start all over or editing work later
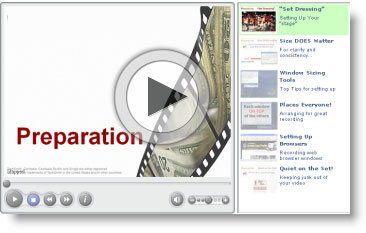
CLICK to Watch
Duration: 14 minutes
Step 2
Review the Bonus “Recording” video tutorial below. Now that the Stage of our excellent screencast has been adequately “set”, it’s time to roll some footage!
- Transform an otherwise marginal video into a killer sales tool with this Top Tip
- How to effectively use the screencast “camera”…the Camtasia Recorder!
- How to grab attention and build trust by using overlooked features
- How the “pros” record their videos…this top trick can help you crush your competition
- Minimizing mistakes before they even happen
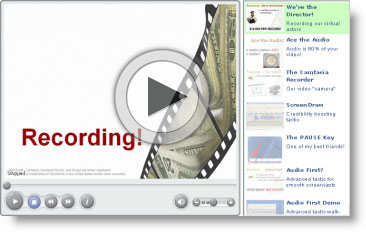
CLICK to Watch
Duration: 21 minutes
Step 3
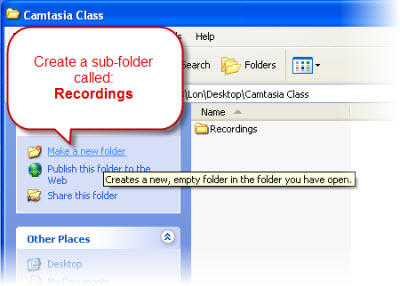
Create a folder on your Desktop called “Camtasia Class”:
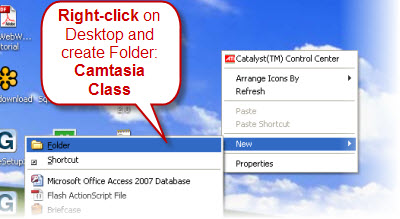
Double click the new folder to open and create a sub-folder inside that called “Recordings”:
This is a good place to keep any Recommended Exercise Camtasia recording files as you complete exercises throughout the course.
You might also want to use the good practice of a structured directory plan from Session 1 and create additional folders for elements such as audio files, images, slides, etc.
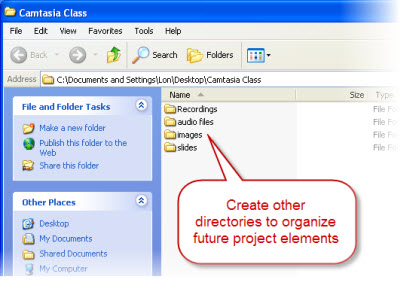
These are just samples! Use whatever naming makes sense to you…
Step 4
Create these Test Recordings and save to your new Recordings folder:
- Record a 30 second video with your microphone (record as AVI and set audio to 44.1, 16, mono. Record at 640×480
- Record a 30 second video with your microphone (record as AVI) Record at full screen
- Record a 30 second video with your microphone and with your Webcam (Record as Camrec, 30 FPS)
- Optional: Open up a PowerPoint presentation you have created. Record several slides with audio
By doing a couple of real recordings, you will QUICKLY find out where any confusion you have lies! Try to work through it and complete the exercise but if you’re stumped: Get your SPECIFIC questions ready for the live Q&A sessions and we’ll walk you though them!
![]() HINT: If you have an actual video project in mind that you would like to complete, you can do these exercises with the goal of using them later in your final video.
HINT: If you have an actual video project in mind that you would like to complete, you can do these exercises with the goal of using them later in your final video.
Part 3
Resources
Class Session Slides:
Here is a copy of the slides used in the Session 2 webinar recording.

Right Click and SAVE AS to your local computer
Camtasia “Smart Focus” Tutorial:
Camtasia version 5 and higher has a feature called SmartFocus. We don’t usually use it because it can be a bit tricky to understand and use but if you want to learn more about it, here’s an overview and good tutorial from Techsmith:
SmartFocus Tutorial – 12.5 MB Zip file with tutorial inside
Using ScreenDraw
Drawing stuff as you record is a little tricky but can make for some good recorded content. Here’s a good tutorial from Techsmith:
ScreenDraw Tutorial – 3.6 MB Zip file with tutorial inside
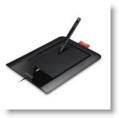
![]() TIP: Trying to use ScreenDraw with your mouse? Ewww…that’s a mess! I use a drawing tablet to look smooth. Wacom makes excellent gear:
TIP: Trying to use ScreenDraw with your mouse? Ewww…that’s a mess! I use a drawing tablet to look smooth. Wacom makes excellent gear:
Session expired
Please log in again. The login page will open in a new tab. After logging in you can close it and return to this page.