Six Ideas for Preparing Better Live Webinar Courses
One of the easiest ways to create a video course is to deliver it live via Webinar then edit and produce the replay using Camtasia Studio. In fact, tomorrow morning I’ll be delivering a course on Camtasia Studio to 8 Oracle employees in various parts of the world using GotoMeeting. In this post I’d like to share with you 6 ideas for creating a better live webinar course.
Why the Client Decided to go with a “Live” Delivery
The main reason the client chose this method vs having the employees watch prerecorded videos are
- He wanted the course customized to exactly what the Oracle employees would be doing with video
- He wanted the ability to ask questions live while they work on their projects during the class
- He wanted to be sure all the students would be completing the course in a timely manner.
- He knew that we could still record all the sessions for student review.
All these are great reasons to consider offering your course live.
I chose GotoMeeting because Lon and I have been using that software for at least the last 6 years and have found it to be the most reliable of all the options. Although we also have GotoWebinar (Up to 1000 students allowed), the size of this group is so small that it would have been overkill.
As I got everything organized these past couple of days I wanted to share with you some ideas so you can see how simple it can be to come out looking professional and efficient.
1. Create a PowerPoint Presentation
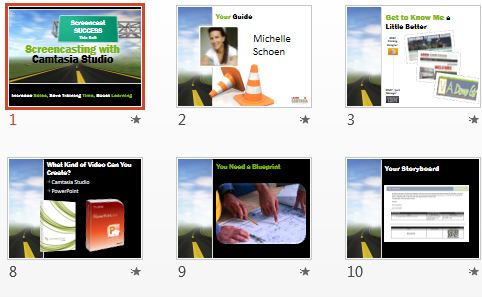
Even if you are just teaching Software it is nice to have a professional looking PowerPoint to go with it. Separate each concept with a Lesson/Topic name.Try not to fit too many lessons into each day of training as it is better to have shorter sessions with lots of engagement and practice than long periods of students listening to you teach.

PowerPoint Course Presentation
2. Create an Instructor Guide and a Student Guide
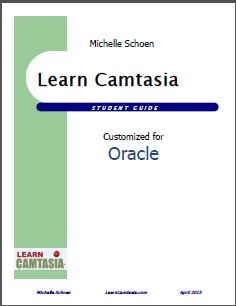
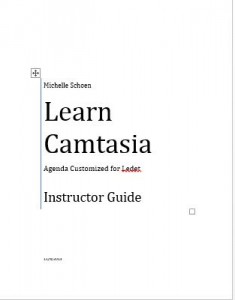
These will help keep the students on track by letting them know exactly what is coming up in each Lesson. And for youself you may want to create an Instructor Guide. This is usually a copy of the Student Guide but with much more detail about the content and how to do the exercises.

Student Guide
3. Create Exercises and Activities
These are important if you want to make sure students really learn. They need to practice with the content right after you teach it. If anyone has difficulties you can have them show their screen using the webinar software. You can then take control of their mouse and walk them through the exercise. You might even add homework for additional practice.
4. Create a Dropbox for your Students
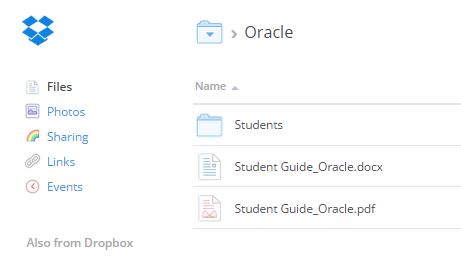
A great way to share the course materials is to get a Dropbox account then share the link with the students. Inside you can place the Student Guide, any Practice Exercise files and any Bonus Materials. Here is an image of the contents of the materials for tomorrow’s course. Students can download the files but not edit anything inside the Dropbox. I provide the Word copy of the Student Guide so they can take notes.

Share a Dropbox Folder
5. Consider Using a Webcam
I like to show everyone’s faces. At least in the beginning- to personalize the instructor and for everyone to introduce themselves. If you keep it on all the time the students might get distracted and it uses a lot of computer resources. Not everyone will have a webcam so some may feel left out (or relieved!)
6. Record the Webinar
You can record the session in GotoMeeting then make it available later for students who want to see the techniques over again. If you upgrade any student to become an “Organizer” they can record the session themselves and have it immediately available on their desktop.
These are just a few of the ideas that have made my webinar courses more fun and well organized.
On April 22nd my friend, Craig Canning, will be hosting a live webinar where he’ll be sharing more techniques for awesome live and recorded video training. If you have subscribed to our free Weekly Video Tips Newsletter look for your emailed invitation on April 16th.
